Saturday, November 9, 2013

Jennifer Grace Frosty Festivities: Blog Hop Inspiration

It is so much fun being inspired by older supplies again.  I had been bummed that I have not been able to get the Christmas Paper I had been eyeing, but the paper I already own is finding some new life this weekend.

If you have not done Jennifer's blog hop, you should head over THERE.  So many great things to see and ideas to note!  Jennifer's layout for the hop is fantastic (as to be expected).  I was especially intrigued with her shaker pouch at the top of the page.  I decided to give it a try (on a smaller scale) and squeeze in the other suggestions she had, too.


Be Inspired:
Make a shaker pouch of falling ‘snowflakes’
Use a piece of ephemera or a chipboard element as part of a page title
Add two lines along the bottom of a page or card for a defined border


My cute little jar has some snowflakes and golden stars in it.  It took me a few tries to get it the way I wanted, but I really love it!  I love the non traditional colors on this layout, too.  Inspired by Isabel's pink coat, of course.

I hope you are having fun.  The fact that it gets dark earlier now tricks my brain into thinking I'm tired much earlier.  I'm not sure how much longer I will be up tonight, but will be having more fun tomorrow after church.

A Challenge: To Be Inspired Project!

I have been doing Project Life lately.  My time is limited, so I need quick, small things to work on in between work and family.  Those small cards are the perfect canvas for me to do a little something and if I get interrupted, it is not a big deal or frustration.  It is working well so far.

Today I am anticipating interruptions, so I am sticking with small projects to get started.  Hopefully I can work my way up to a layout or two later.

Jennifer issued a great challenge:


Be Inspired:
- Use something with a rough texture near smooth or shiny items
- Add a row of snowy dots along a border
- Use pop-dots for letter stickers for a card recipient’s name, or a page title
She even has a fun prize you can win if you enter!  Now, I am not planning on doing EACH suggestion for each of her posts, but this group of inspiration prompts were too good to pass up!


At Christmas, I normally do pre-purchased tags or stamp some very simple ones to go with the wrapping paper for that year (and yes, I do make a big deal about finding the perfect paper!).  I don't generally spend a lot of time on tags as I don't think most of our recipients would actually appreciate them.  I decided to go ahead and make a tag for Meg (my step mom).  She loves to wrap and pays a lot of attention to detail, so I know she will notice and appreciate the tag.

My Grinchy self had to go ahead and break into my wood vaneer sheets.  I hoard them, but they were so perfect for this project.  They cut beautiful on my Cricut, too!

I used my new Art Philosophy and Artiste cartridges for the tag, green background and start burst (it even has a matching stamp!).  Don't you love the fox?  I have been eager to use him!  Dollar Spot at Michaels, baby!  The glitter tree is left over from maybe two years ago and I am glad I kept them!  Getting some use out of them today.  The white dots were made by me to mimic those cute enamel dots that are popular, but have not made it to Lafayette at this point.  They are just some plastic beads popped in the oven and melted down.  Nice.

Two projects down and I love them both!

Frosty Festivities: Welcome Inspiration

My first completed project!  It feels good to be digging through so much fun, loved stuff!

The first set of inspiration for today is this:


Be Inspired:
Add an embellishment that goes over the edge of your project
Mix three different paper collections
Include something with a reflective shine


I decided to go for a card, but needed to be a bit creative about the "add an embellishment that goes over the edge of your project" part.

I picked some paper from Cosmo Cricket's Dear Mr. Claus (mini deck)) for the background and tags.  To ground everything, I used a piece of Kraft Funday (black stripes).  This would give me a foundation to help my embellishments go over the edge of.

Isn't the deer cute?  I have a small pack of plain chipboard deer and snowmen.  A Studio Calico mask and a bit of aqua mist and he is ready to go, don't you think?

I am in love with sequins right now...they add such a fun touch and a bit of reflective shine.

Have you jumped into Jennifer's Blog Event for this weekend?  I wish you would.  It will be lonely doing it all by myself!

Jennifer Grace Creates: Frosty Festivities!

I met Jennifer when she applied for a position on my Design Team (Counterfeit Kit Challenge).  She is sweet, dedicated and OH, SO TALENTED!  I am sad that she is no longer on my team, but happy to count her among my friends.

Jennifer does some amazing Blog Events throughout the year.  She works so hard to put together a wonderful theme full of inspiration, prizes and challenges.  I always leave feeling sad it is over and full of ideas for the coming months.

Right now Jen has a wonderful blog event going on this weekend!

Frosty Festivities Event at Jennifer Grace Creates

There is still plenty of time to play along!  I am FULL of ideas from her posts already!  I am one happy girl right now!

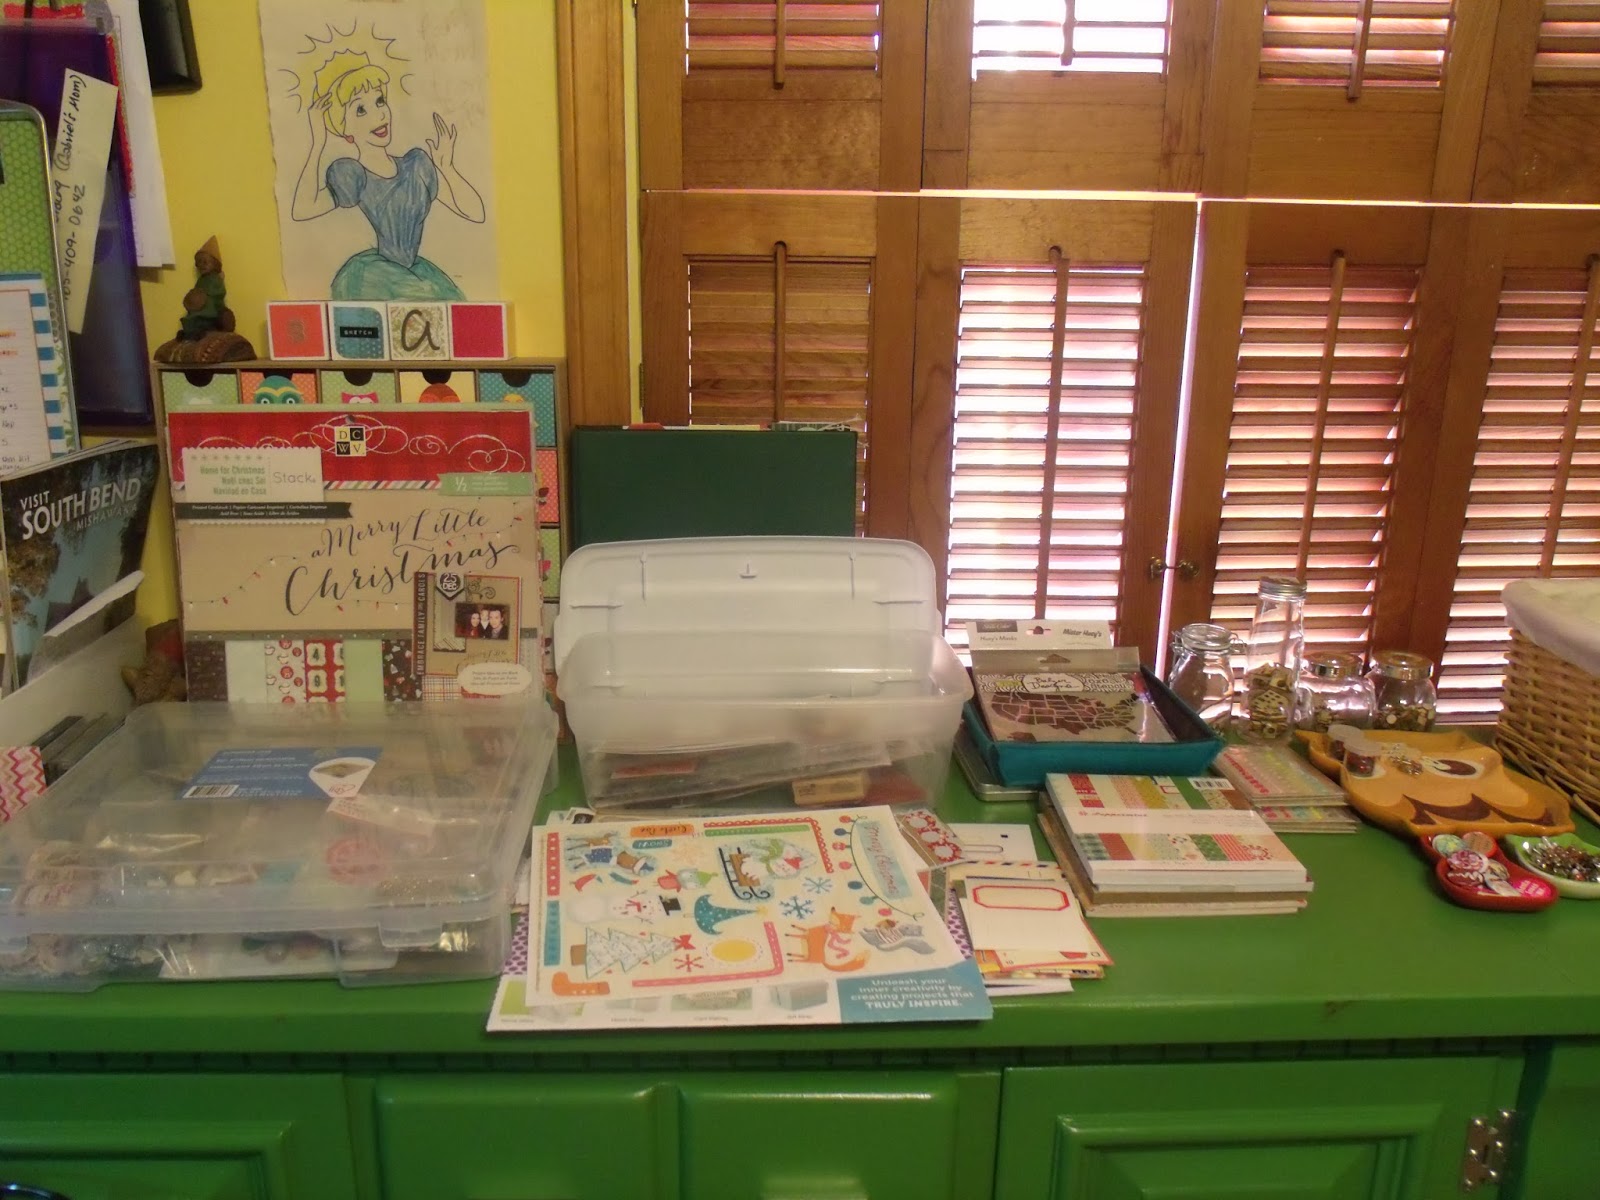
I am a bit OCD (totally not joking here...really), so I have been typing a list of all of her prompts/challenges, so I can check them off as I go.  I also have pulled EVERYTHING I can think of that would be great for holiday projects.  And I do mean EVERYTHING.  Even non-holiday stuff that feels inspiring to me.  I love it when that happens!


I have so many embellishments, stamps, stickers, sequins, twine, punches, papers, wood vaneers, enamal dots, washi tape...OH, MY!  Think I am finally ready?

I'm off to create!  A whole day!  Mostly to myself!  Kids are fed...Hubby is "on duty" to field requests...dinner is made and ready to heat up.  Oh, happy day!  I'll be back with projects as I finish them.

Sunday, October 6, 2013

Project Life...my way! (Part 1)

I first started seriously scrapbooking when I received some supplies as a baby shower for my son 11 years ago.  I had no idea what I was doing and had very little access to supplies (Puerto Rico was not known as a scrapbooking mecca), but I really enjoyed trying and cherish those first pages, as bad as I think they look now.  They are even more special because DH helped me make some of my first pages and it was nice to share that with him.

Since then I have completely filled my life and house with paper crafting.  I run a scrapbook blog (The Counterfeit Kit Challenge Blog) and have my own little studio filled with pretty supplies and even better storage for those supplies.  I love to get messy, try new techniques and find ways to use up what I have.

With the Counterfeit Blog, a paying job, two kids, a family who wants to be with me every. minute. of. the. day....I am finding less and less time to document things.  I take a lot of photos, but am slow at getting them in the albums.  I needed a better way, but I needed something that would work for me and not keep me floating in guilt.

So I decided to try Becky Higgins Project Life concept.


I like the idea that it is faster, I can use what I have already and it can work right into the scrapbooking I already love to do.  However, I am a thinking and a planner, so I had to really figure out how this was going to add to my creative process before I got started.  Otherwise I was afraid I would become overwhelmed and would quit.

So, this is all of my research and decisions for how this will work for me.  I hope you get some ideas from this and find a way to make it work for YOU.

For me, I need to get inspired BEFORE I start something and have plenty of it for when I get stuck.  A huntin' I will go...

My Inspiration:
Project Life Inspiration: Over 100 Sites
Scrap Inspired
2 Peas Project Life Videos
A Little Bit of Me
Mercytiara's You tube channel

My Supplies:

Lots of ideas!  I'm getting excited now!  I have a room full of supplies and now need to figure out if I want to try and get a kit or just make my own.  I'm a little worried that starting out making my own will bog me down and make it not so much fun for me right now.  I was blessed to be offered a RAK of Project Life cards from a fellow scrapper that I "met" on a facebook group (Project Lifers)!  Big thanks to Annie Mosely for the wonderful gift!  She loaded me up!  I was also gifted a Project Life Honey kit from a friend!  WHOOHOO!


I also went through all of my scrapbook kits and cut apart the cute cards that are included in a lot of kits lately.  They will be perfect and I didn't have to do anything!

You can look HERE to see what Becky Higgins offers, but there are several different companies that make the cards and later we will take a look at making our own.  :)

Next up is the page protectors and an album and, wouldn't you know it?  Michaels had a sale that week!  I picked up an album and a box of variety pack 1 of page protectors (love those 40% off coupons).  I thought about just sticking with one page protector design, but who am I kidding?  I get bored easily and knew I would want to mix it up.


My Organizing:

Now that I have that all settled, I really need to figure out a way to organize all of these cards.  I know I will not use them if they are not organized in a way that makes sense to me.

So what to do?  Now I have a sample of several collections.  Do I just go ahead and mix them up and sort by color (I have done that with my paper in the past)?  Or do I keep them by collection and just flip through them each time?  

I know I want to use a variety of cards on my pages and don't feel the need to stick with just one collection, BUT I had a hard time breathing when I thought of mixing them (and yes, I don't like my food to touch either).

My solution:  Keep each collection separate, but have them sorted by color in each collection.  Happy Dance!

Here is how I did the Honey Collection:

1.  The set came with 10 of each card (double sided) so I divided each "card set" into two piles, one with the front facing up and one with the backside facing up.

2.  Then I put the piles into color groups based on the first color that jumped out at me on the card.  I did have a pile for multi color cards that did not have a predominate color.


3.  I left my 4x6 cards alone and made a pile of "word" cards, too.


Now that they were sorted, I needed somewhere to put them.  My cabinets have great divided drawers in them, but when I put the cards in, they kept falling over and didn't look easy to manage.

Here are some ideas I found for how to store your cards.
Creative Organizing
Jen's Joint
A Pocket Full of Licorice
Scrapbook Obsession

I did a bit of browsing at some local stores and thought about what I needed based on how I would use it.  I wanted it to be:
1.  Portable
2.  Easy to label each collection
3.  Contained so the cards wouldn't become mixed up or fall out
4.  Well divided.  I do like to have sub categories!

This is what I found at Michaels and with a coupon, it wasn't horrible and I knew it would work for me:


Each box is labeled with the kit name and color scheme that is in the box.  It will be easy for me to grab a "collection" and take it to a crop or in the other room to work.  I LOVE it!

Before I FINALLY Get started on my first layout, let me share my Pinterest Board with you, so you can find some more inspiration as I pin away.

My Project Life Pinterest Board
**I pin a lot of free printables, so have fun printing out cards that you love with minimal work!

I'll be back soon with how my album is going to work for me and maybe we can take a look at making some of our own cards.  And by the way, I totally know I am an OCD over planner.  And I REVEL in it!

Monday, May 27, 2013

A little weekend fun!

We had a fun filled family weekend, but I was determined to get some creating done.  Well, what I did manage to do, at least, was get my kits put back into my stash and make a new kit for myself to use this week.  (Goal:  1 layout and 2 cards from it...I'm sure it will make more, but I am trying to be realistic)

I headed over to CSI to see what case file is up.  I am in at the tail end, but put together a kit because I really loved the color combo.  Hopefully I can be much earlier with my next kit.

Here is what their inspiration was:


The blues and orange are so much fun!  I really like the grey they threw in, too.


I was happy to pull some buttons I had made way back when for another kit...and some wood vaneers to play with.  (I have been collecting them, but have not used them yet.  SHOCKING!)

I can't wait to play with it and share some more things with you.  Wish me luck!  It is the last week of school and we are BUSY!  I will need to carve some time for myself!

Thursday, May 16, 2013

Jennifer's Free as a Bird Challenge!

This is my final challenge for Jennifer's weekend  event!  Whew!  Still lots of inspiration on her blog, though...I took notes.

Jennifer's Challenge (found here) is to be inspired by birds and the freedom they represent.

I don't use many birds in my creations, but easily found some printable ones online to use on this card:


I used some of my scraps to create a fun background.  I was excited to use some burlap and cork, too!  Look at me go!

A BIG thanks to Jennifer for a wonderful weekend.  I haven't had this much fun in AGES.

AND.....

I won a prize from one of her sponsors: Digital Paper!!!  You really should check out her shop...so many pretty things!  It will be hard to choose!