Thursday, November 14, 2013

20 Questions Scrap Style Swap!

Our Design Team over at Counterfeit Kit Challenge loves to chat and do private challenges together.  Our go getter, Lisa, keeps us in touch with each other with Questions of the Week and puts together challenges we can all participate in.

We have been working on a fun one (and HARD...thanks a lot, Lisa!) that we are ready to share with you!

Here is the hop order!  I encourage you to start over at the Counterfeit Kit Site to see the explanation of the hop.  

Counterfeit Kit Challenge:http://counterfeitkitchallenge.blogspot.com 

So the 20 Questions that Lisa had us answer about our own style did not seem too hard.  I know what I like and don't like, right?

Here are the answers to my questions.  The hard part for me is that I am a "WHIM" scrapper...basically I just do whatever I like at the time.  LOL  I think I definitely have my own style though and this really helped to show what it is.

Team 20 Questions Scrap Style Swap – Bethany

Starting points:

  1. photos/story OR sketch/design
    1. SKETCH/DESIGN
  2. cardstock background OR patterned paper background
    1. CARDSTOCK
  3. neutral background OR colourful background
    1. NEUTRAL
  4. people/event themed OR moment/everyday themed
    1. MOMENT/EVERYDAY
  5. single page layout OR double page spread
    1. SINGLE

Design:
  1. graphic/straight lines OR layers/clusters/angles
    1. LAYERS/CLUSTERS/ANGLES
  2. organic patterns/designs OR geometric shapes/designs
    1. GEOMETRIC
  3. main elements central to the page OR main elements off centre (on a rule of thirds line or in a corner)
    1. CENTRAL
  4. embellishments in a diagonal across the page OR embellishments in a visual triangle
    1. VISUAL TRIANGLE
  5. girly/feminine feel to the page OR boyish/masculine feel to the page
    1. FEMININE

Paper/Product:

  1. new/trendy products OR older/classic products
    1. NEW/TRENDY
  2. papers/elements from predominantly one collection OR papers/elements from a variety of collections
    1. PREDOMINANTLY ONE COLLECTION
  3. plethora of embellishments OR clean and simple
    1. PLETHORA
  4. title work from all one alpha pack OR title work from mixed/multiple alpha packs
    1. ONE ALPHA
  5. bold/primary/bright colours OR muted/pastels/lights
    1. MUTED
  6. single photo OR multiple photos
    1. SINGLE
  7. standard size prints (6x4/5x7) OR custom (Instagram, square, 2x3/oversized)
    1. STANDARD

Techniques:

  1. wet (mists/inks/paint/wet embossing/stamping) OR dry (papers/dry embossing/die cuts)
    1. WET
  2. handwritten journaling OR printed journaling
    1. HANDWRITTEN
  3. clean cut/common margins/flat OR distressed/sanded/inked edges/torn/stitched
    1. CLEAN CUT

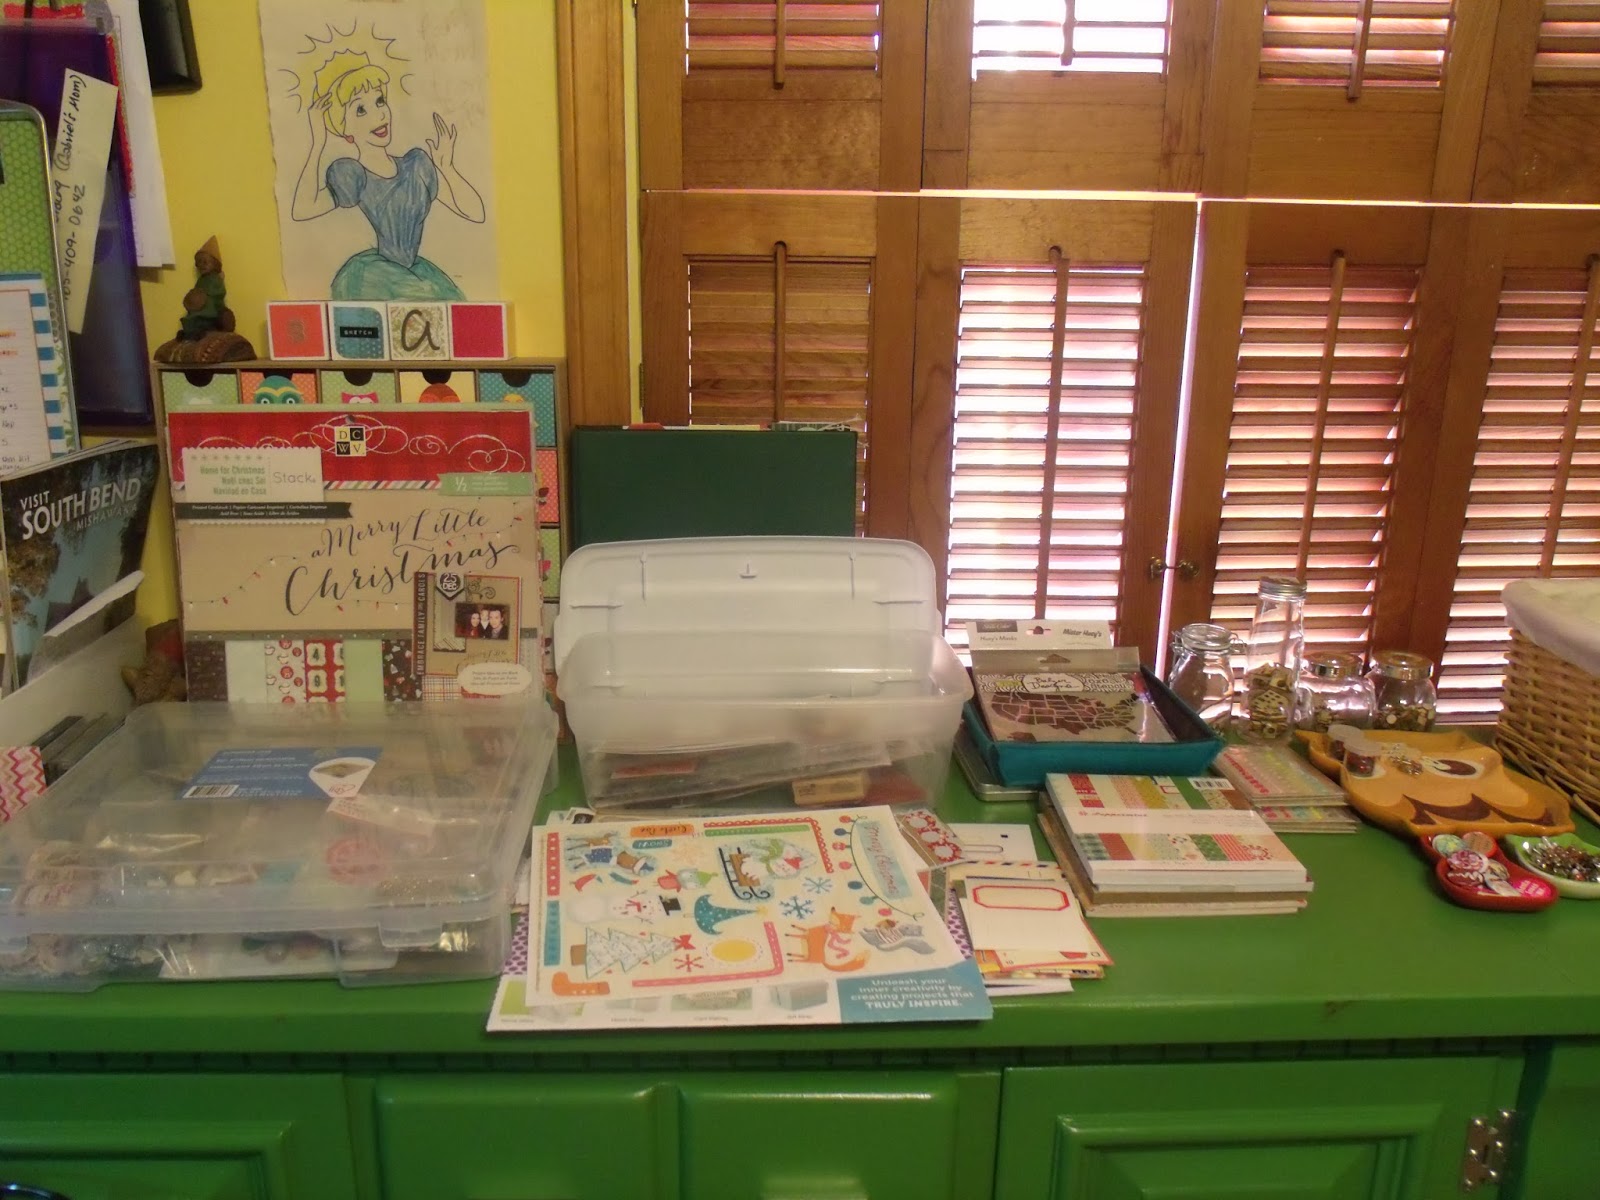
Here is a layout I made to prove it!  (And I actually had a hard time following all of MY answers...how about that?)


Now here comes the tough part...taking the 20 Questions from a Master Forger and creating something in THEIR style...AND...AND trying to guess who they are!  You are killing me, Lisa!!

Team 20 Questions Scrap Style Swap – PARTNER 6

Starting points:

  1. photos/story OR sketch/design
    1. THE PHOTOS ALWAYS INSPIRE THE COLOUR SCHEME
  2. cardstock background OR patterned paper background
    1. CARDSTOCK
  3. neutral background OR colourful background
    1. COLOURFUL
  4. people/event themed OR moment/everyday themed
    1. MORE EVERYDAY
  5. single page layout OR double page spread
    1. SINGLES

Design:
  1. graphic/straight lines OR layers/clusters/angles
    1. LAYERS, LAYERS, LAYERS!
  2. organic patterns/designs OR geometric shapes/designs
    1. GEOMETRIC
  3. main elements central to the page OR main elements off centre (on a rule of thirds line or in a corner)
    1. OFF CENTRE
  4. embellishments in a diagonal across the page OR embellishments in a visual triangle
    1. VISUAL TRIANGLE
  5. girly/feminine feel to the page OR boyish/masculine feel to the page
    1. ABSOLUTELY ALL GIRL

Paper/Product:

  1. new/trendy products OR older/classic products
    1. OLDER- HAVEN’T SHOPPED IN A LONG TIME
  2. papers/elements from predominantly one collection OR papers/elements from a variety of collections
    1. VARIETY
  3. plethora of embellishments OR clean and simple
    1. CLEAN AND SIMPLE
  4. title work from all one alpha pack OR title work from mixed/multiple alpha packs
    1. ONE ALPHA PACK
  5. bold/primary/bright colours OR muted/pastels/lights
    1. BOLDS / BRIGHTS
  6. single photo OR multiple photos
    1. MULTIPLE
  7. standard size prints (6x4/5x7) OR custom (Instagram, square, 2x3/oversized)
    1. CUSTOM

Techniques:

  1. wet (mists/inks/paint/wet embossing/stamping) OR dry (papers/dry embossing/die cuts)
    1. DRY
  2. handwritten journaling OR printed journaling
    1. HANDWRITTEN
  3. clean cut/common margins/flat OR distressed/sanded/inked edges/torn/stitched
    1. CLEAN CUT (BUT I DO INK SOMETIMES)


Want to see what I came up with?


TADA!  LOL  I actually had to redo this more than once.  I kept slipping back into my style.  I really like it, though.  Nice and clean.  I even got to use a project life card on it.  Way to use your supplies in different ways, Bethany!!  Whoop!  Whoop!

Now for my guess about which Master Forger I was copying?  That is hard!  Do I have to guess?  Really?  I think I am going to say LISA and if i am right, then I did not do her justice at ALL! (Might need to add a few more layers!)

Now hop on over to DAWN to see her take on the challenge.  And I would suggest you give it a try yourself?  

You could:
Swap with a friend (even an online one!) and create in their style
Pick a Master Forger to "copy"
Or just do our list straight up in your own style! 

Great challenge, Lisa!

Tuesday, November 12, 2013

Jennifer Grace: Red and Blue Challenge

Not my best work, but my head hurts and my kids keep on interrupting me.  LOL


I love using red and blue together.  :)   HERE IS THE CHALLENGE if you want to check it out.

Jennifer Grace: A Challenge to Embrace the Busy

I managed another challenge!  Whoohoo!  I happened to get sick right in the middle of this lovely event (still don't feel well), so I got more sleeping than scrapping done.  I am glad I pulled all of my Scrappy Christmas Goodness.  It is making it so much easier to work for a few minutes.

I took Jennifer's challenge to embrace the busy literally.  In fact, this page is not doing good things to my headache.  LOL  I'm sure I will love it later.


Love this paper, but it sure it making my head hurt.  LOL  I was afraid my photos would get lost, so I did several layers to frame them out.  I wanted to make my own "string of lights" so I let some twine fall on the page (to give it a more natural look) and the used brads to help keep it in place.  I then added enamel dots and sequins to add a bit of sparkle.  I threw on anything else I thought would work (trees, building, branch, tab and a totally cute flair) and called it a day.  

Whew!

Head over to Jennifer Grace Creates to see what Jennifer made for this challenge!

Saturday, November 9, 2013

Jennifer Grace Frosty Festivities: Blog Hop Inspiration

It is so much fun being inspired by older supplies again.  I had been bummed that I have not been able to get the Christmas Paper I had been eyeing, but the paper I already own is finding some new life this weekend.

If you have not done Jennifer's blog hop, you should head over THERE.  So many great things to see and ideas to note!  Jennifer's layout for the hop is fantastic (as to be expected).  I was especially intrigued with her shaker pouch at the top of the page.  I decided to give it a try (on a smaller scale) and squeeze in the other suggestions she had, too.


Be Inspired:
Make a shaker pouch of falling ‘snowflakes’
Use a piece of ephemera or a chipboard element as part of a page title
Add two lines along the bottom of a page or card for a defined border


My cute little jar has some snowflakes and golden stars in it.  It took me a few tries to get it the way I wanted, but I really love it!  I love the non traditional colors on this layout, too.  Inspired by Isabel's pink coat, of course.

I hope you are having fun.  The fact that it gets dark earlier now tricks my brain into thinking I'm tired much earlier.  I'm not sure how much longer I will be up tonight, but will be having more fun tomorrow after church.

A Challenge: To Be Inspired Project!

I have been doing Project Life lately.  My time is limited, so I need quick, small things to work on in between work and family.  Those small cards are the perfect canvas for me to do a little something and if I get interrupted, it is not a big deal or frustration.  It is working well so far.

Today I am anticipating interruptions, so I am sticking with small projects to get started.  Hopefully I can work my way up to a layout or two later.

Jennifer issued a great challenge:


Be Inspired:
- Use something with a rough texture near smooth or shiny items
- Add a row of snowy dots along a border
- Use pop-dots for letter stickers for a card recipient’s name, or a page title
She even has a fun prize you can win if you enter!  Now, I am not planning on doing EACH suggestion for each of her posts, but this group of inspiration prompts were too good to pass up!


At Christmas, I normally do pre-purchased tags or stamp some very simple ones to go with the wrapping paper for that year (and yes, I do make a big deal about finding the perfect paper!).  I don't generally spend a lot of time on tags as I don't think most of our recipients would actually appreciate them.  I decided to go ahead and make a tag for Meg (my step mom).  She loves to wrap and pays a lot of attention to detail, so I know she will notice and appreciate the tag.

My Grinchy self had to go ahead and break into my wood vaneer sheets.  I hoard them, but they were so perfect for this project.  They cut beautiful on my Cricut, too!

I used my new Art Philosophy and Artiste cartridges for the tag, green background and start burst (it even has a matching stamp!).  Don't you love the fox?  I have been eager to use him!  Dollar Spot at Michaels, baby!  The glitter tree is left over from maybe two years ago and I am glad I kept them!  Getting some use out of them today.  The white dots were made by me to mimic those cute enamel dots that are popular, but have not made it to Lafayette at this point.  They are just some plastic beads popped in the oven and melted down.  Nice.

Two projects down and I love them both!

Frosty Festivities: Welcome Inspiration

My first completed project!  It feels good to be digging through so much fun, loved stuff!

The first set of inspiration for today is this:


Be Inspired:
Add an embellishment that goes over the edge of your project
Mix three different paper collections
Include something with a reflective shine


I decided to go for a card, but needed to be a bit creative about the "add an embellishment that goes over the edge of your project" part.

I picked some paper from Cosmo Cricket's Dear Mr. Claus (mini deck)) for the background and tags.  To ground everything, I used a piece of Kraft Funday (black stripes).  This would give me a foundation to help my embellishments go over the edge of.

Isn't the deer cute?  I have a small pack of plain chipboard deer and snowmen.  A Studio Calico mask and a bit of aqua mist and he is ready to go, don't you think?

I am in love with sequins right now...they add such a fun touch and a bit of reflective shine.

Have you jumped into Jennifer's Blog Event for this weekend?  I wish you would.  It will be lonely doing it all by myself!

Jennifer Grace Creates: Frosty Festivities!

I met Jennifer when she applied for a position on my Design Team (Counterfeit Kit Challenge).  She is sweet, dedicated and OH, SO TALENTED!  I am sad that she is no longer on my team, but happy to count her among my friends.

Jennifer does some amazing Blog Events throughout the year.  She works so hard to put together a wonderful theme full of inspiration, prizes and challenges.  I always leave feeling sad it is over and full of ideas for the coming months.

Right now Jen has a wonderful blog event going on this weekend!

Frosty Festivities Event at Jennifer Grace Creates

There is still plenty of time to play along!  I am FULL of ideas from her posts already!  I am one happy girl right now!

I am a bit OCD (totally not joking here...really), so I have been typing a list of all of her prompts/challenges, so I can check them off as I go.  I also have pulled EVERYTHING I can think of that would be great for holiday projects.  And I do mean EVERYTHING.  Even non-holiday stuff that feels inspiring to me.  I love it when that happens!


I have so many embellishments, stamps, stickers, sequins, twine, punches, papers, wood vaneers, enamal dots, washi tape...OH, MY!  Think I am finally ready?

I'm off to create!  A whole day!  Mostly to myself!  Kids are fed...Hubby is "on duty" to field requests...dinner is made and ready to heat up.  Oh, happy day!  I'll be back with projects as I finish them.

Sunday, October 6, 2013

Project Life...my way! (Part 1)

I first started seriously scrapbooking when I received some supplies as a baby shower for my son 11 years ago.  I had no idea what I was doing and had very little access to supplies (Puerto Rico was not known as a scrapbooking mecca), but I really enjoyed trying and cherish those first pages, as bad as I think they look now.  They are even more special because DH helped me make some of my first pages and it was nice to share that with him.

Since then I have completely filled my life and house with paper crafting.  I run a scrapbook blog (The Counterfeit Kit Challenge Blog) and have my own little studio filled with pretty supplies and even better storage for those supplies.  I love to get messy, try new techniques and find ways to use up what I have.

With the Counterfeit Blog, a paying job, two kids, a family who wants to be with me every. minute. of. the. day....I am finding less and less time to document things.  I take a lot of photos, but am slow at getting them in the albums.  I needed a better way, but I needed something that would work for me and not keep me floating in guilt.

So I decided to try Becky Higgins Project Life concept.


I like the idea that it is faster, I can use what I have already and it can work right into the scrapbooking I already love to do.  However, I am a thinking and a planner, so I had to really figure out how this was going to add to my creative process before I got started.  Otherwise I was afraid I would become overwhelmed and would quit.

So, this is all of my research and decisions for how this will work for me.  I hope you get some ideas from this and find a way to make it work for YOU.

For me, I need to get inspired BEFORE I start something and have plenty of it for when I get stuck.  A huntin' I will go...

My Inspiration:
Project Life Inspiration: Over 100 Sites
Scrap Inspired
2 Peas Project Life Videos
A Little Bit of Me
Mercytiara's You tube channel

My Supplies:

Lots of ideas!  I'm getting excited now!  I have a room full of supplies and now need to figure out if I want to try and get a kit or just make my own.  I'm a little worried that starting out making my own will bog me down and make it not so much fun for me right now.  I was blessed to be offered a RAK of Project Life cards from a fellow scrapper that I "met" on a facebook group (Project Lifers)!  Big thanks to Annie Mosely for the wonderful gift!  She loaded me up!  I was also gifted a Project Life Honey kit from a friend!  WHOOHOO!


I also went through all of my scrapbook kits and cut apart the cute cards that are included in a lot of kits lately.  They will be perfect and I didn't have to do anything!

You can look HERE to see what Becky Higgins offers, but there are several different companies that make the cards and later we will take a look at making our own.  :)

Next up is the page protectors and an album and, wouldn't you know it?  Michaels had a sale that week!  I picked up an album and a box of variety pack 1 of page protectors (love those 40% off coupons).  I thought about just sticking with one page protector design, but who am I kidding?  I get bored easily and knew I would want to mix it up.


My Organizing:

Now that I have that all settled, I really need to figure out a way to organize all of these cards.  I know I will not use them if they are not organized in a way that makes sense to me.

So what to do?  Now I have a sample of several collections.  Do I just go ahead and mix them up and sort by color (I have done that with my paper in the past)?  Or do I keep them by collection and just flip through them each time?  

I know I want to use a variety of cards on my pages and don't feel the need to stick with just one collection, BUT I had a hard time breathing when I thought of mixing them (and yes, I don't like my food to touch either).

My solution:  Keep each collection separate, but have them sorted by color in each collection.  Happy Dance!

Here is how I did the Honey Collection:

1.  The set came with 10 of each card (double sided) so I divided each "card set" into two piles, one with the front facing up and one with the backside facing up.

2.  Then I put the piles into color groups based on the first color that jumped out at me on the card.  I did have a pile for multi color cards that did not have a predominate color.


3.  I left my 4x6 cards alone and made a pile of "word" cards, too.


Now that they were sorted, I needed somewhere to put them.  My cabinets have great divided drawers in them, but when I put the cards in, they kept falling over and didn't look easy to manage.

Here are some ideas I found for how to store your cards.
Creative Organizing
Jen's Joint
A Pocket Full of Licorice
Scrapbook Obsession

I did a bit of browsing at some local stores and thought about what I needed based on how I would use it.  I wanted it to be:
1.  Portable
2.  Easy to label each collection
3.  Contained so the cards wouldn't become mixed up or fall out
4.  Well divided.  I do like to have sub categories!

This is what I found at Michaels and with a coupon, it wasn't horrible and I knew it would work for me:


Each box is labeled with the kit name and color scheme that is in the box.  It will be easy for me to grab a "collection" and take it to a crop or in the other room to work.  I LOVE it!

Before I FINALLY Get started on my first layout, let me share my Pinterest Board with you, so you can find some more inspiration as I pin away.

My Project Life Pinterest Board
**I pin a lot of free printables, so have fun printing out cards that you love with minimal work!

I'll be back soon with how my album is going to work for me and maybe we can take a look at making some of our own cards.  And by the way, I totally know I am an OCD over planner.  And I REVEL in it!


Monday, May 27, 2013

A little weekend fun!

We had a fun filled family weekend, but I was determined to get some creating done.  Well, what I did manage to do, at least, was get my kits put back into my stash and make a new kit for myself to use this week.  (Goal:  1 layout and 2 cards from it...I'm sure it will make more, but I am trying to be realistic)

I headed over to CSI to see what case file is up.  I am in at the tail end, but put together a kit because I really loved the color combo.  Hopefully I can be much earlier with my next kit.

Here is what their inspiration was:


The blues and orange are so much fun!  I really like the grey they threw in, too.


I was happy to pull some buttons I had made way back when for another kit...and some wood vaneers to play with.  (I have been collecting them, but have not used them yet.  SHOCKING!)

I can't wait to play with it and share some more things with you.  Wish me luck!  It is the last week of school and we are BUSY!  I will need to carve some time for myself!

Thursday, May 16, 2013

Jennifer's Free as a Bird Challenge!

This is my final challenge for Jennifer's weekend  event!  Whew!  Still lots of inspiration on her blog, though...I took notes.

Jennifer's Challenge (found here) is to be inspired by birds and the freedom they represent.

I don't use many birds in my creations, but easily found some printable ones online to use on this card:


I used some of my scraps to create a fun background.  I was excited to use some burlap and cork, too!  Look at me go!

A BIG thanks to Jennifer for a wonderful weekend.  I haven't had this much fun in AGES.

AND.....

I won a prize from one of her sponsors: Digital Paper!!!  You really should check out her shop...so many pretty things!  It will be hard to choose!

Jennifer's Onwards Recipe Challenge!

I happily followed Jennifer's blog event last weekend.  It was so much fun!  Lots of inspiration and challenges!

One of the challenges was a recipe challenge...a list of things to use to make a layout.  Challenge accepted!

Here is the list and the link to the CHALLENGE:

Here’s the recipe:

1 small square photo (you can crop down a larger photo) or square element
Something shiny or sparkly
Some encouraging / uplifting / happy words
At least one sticker (alphas don’t count for this)
At least 3 stars
Some yellow!
One stamp.

I made a little kit to go with this challenge to make sure I had everything I needed.  And apparently can't find where the picture of my kit downloaded.  Love it when that happens!

Anyway, here is my layout:


My square photo is of Isabel at Kings Island with her fake mustache.
Something shiney or sparkly?  I used a lot of mist and some gems.
Something encouraging/uplifting/happy words:  I love the chipboard piece that says "a good laugh is sunshine in the home"
At least one sticker:  I used several!  A sticker banner, sticker measuring tape, tab, cutie pie, mustache and I would also count the washi
At least 3 stars:  I stamped and misted the back of a tag (it had dots on it, but they didn't work)
Some yellow: there is yellow in the heart die cut and some of the gems are yellow
One Stamp: I stamped the camera and die cut it...I also stamped the stars on the tag

So here it is!  This was fun to put together!

Crafter's ADD

I am ready to share that I struggle with a little known condition...Crafter's ADD.  LOL  I get SO distracted when I sit down to craft (and not just kids...you tube, facebook, 2 Peas...).  I enjoy doing personal challenges with friends.  It helps me focus and keeps me on track to actually finish something.

Generally I do challenges with my friend Pam, but I have added a new Crafty Challenger to my arsenal...Sherri!

I am super late posting (sorry, Sherri...she posted at the beginning of May), but we did a CSI challenge.

Here is the case file we picked:


and my kit...


I picked the testimony "something silly" to inspire my layout...


I was excited to use those fun photo strips, even as just background embellishments!  

See, I finished something....hey, look...something shiny....

Saturday, May 11, 2013

Finally a scrappy weekend

I will promise you nothing!  LOL  When I promise that you will be seeing more posts, it generally does not happen.  So if you see a lot from me in the next few days, shhhh...don't make a big deal out of it and jinx it.

One of my Design Team members from Counterfeit Kit Challenge does these wonderful blog events!  Lots of inspiration, ideas, challenges and even prizes.  Head on over to Jennifer Grace Creates to take a look.

This weekend is her Onwards and Upwards Blog Event!  This is also the weekend that Billy has offered to do all housework and cooking and just let me relax and do whatever I want.  What I want is to scrapbook, so here I am.

Jennifer has issued some challenges this weekend that I have been working through.  I thought I would share some with you...

A Challenge to go Up, Up, Up!
I am a roller coaster junkie and have high hopes that my kids will be the same.  We have a good start with Collin, but Isabel is like her dad and prefers her feet on the ground.  This was their first fair ride.  It only went up a little ways, but it was HUGE to them.  They ended up loving it.


To Be Inspired
I am a very visual person, so pinterest is ideal for me.  I love all of Jennifer's boards on pinterest and while I was browsing, I spied this sketch on someone else's board.  That inspired this layout (and the picture...an older one I found stuck in a drawer).  The photo isn't great...and Collin's head is cut off, but I love the look on his face.


Today is Beautiful
I loved Jennifer's notebook project.  Yellow has been very prominent in her blog this weekend and it looks great!  She did great with all of the layering without adding too much dimension.  I did quite a bit of layering on this card, but it is still very flat and easy to mail.


I'm off to see what else I can make.  I'm on a roll!  LOL

Sunday, May 5, 2013

Scene of the Crime: My Scrapbook Studio

It has been a while, hasn't it?  My other blog (The Counterfeit Kit Challenge) takes up all of my time, but I am really anxious to get back to posting here.  And my first post back is a DOOZY!  You know how when someone has a new baby you are subjected to a bunch of photos?  Or the friend that just came back from a great vacation and documented every second?  Yep.  You got it.  I have an annoyingly long post today with photos of my scrap room.  I have recently upgraded it, so I have a lot to share!  Get ready...get set...


 Here is a shot from the doorway.  My scrap room is on the side of the house by the kid's bedrooms, which makes it the perfect room to get interrupted in.  Many times.  Daily.  Forever.  LOL  It doubles as a guest room, but luckily, we don't have many people visit.  HA!  So this room is mine all mine!  Billy upgraded me with new to me furniture (thanks to my friend Alyssa who is moving and needed to sell her lovely my favorite color of green furniture) and replaced my carpet with laminate wood.  LOVE IT!

This is the guest bed.  Also known as the place the cats like to hang out while I am working/creating.  I keep that extra blanket on it to make it easier to contain the cat hair.  My stuffed animals have sort of grown...my kids find it a great go to gift for mommy.  Especially if they find an owl, monster or starwars character.  LOL  Above the bed I have hung some of my favorite scrapbook papers.  The movie/night stand next to the bed is my next project.  I will be painting it green to match the rest of the furniture.


Here is my lovely first piece of furniture.  It is fantastic for displaying my little collections and pretty supplies.


Here is one of my collections...owls.  I love them.  I have no idea how it started, but you will find them in various places throughout my room.  Lucky for me, my friend, Pam, is happy to help me with my collection.


Here are my stickles, pearl type paints and mists.  The jars in the front are full of pearls, wood vaneers, flair and brads.


My bling is in this green gardening container.  I love the owl picture behind it that my daughter painted.


Here are all of my buttons and little flowers.  See the gnome in the corner?  I also collect Tom Clark Gnomes.  They are so sweet!


This flip photo holder is full of cards that some of my favorite people have sent me.


This basket is near capacity with my layering pieces.  I have started hoarding die cuts...can you tell?


I have found some cute owl and flower containers to help store the embellishments I am currently using for my kits.  It seems a shame to cover up those cute faces!  The container behind it was made for me by Pam (her presentation of gifts is just as fabulous as the gifts she sends) and keeps a stash of chocolate in it for emergencies.

This end has a few buckets I found at the dollar store to hold some finished cards that I am wanting to mail and some embellishments that I do not want to forget about.


Yet another collection...of glitters, embossing powders and flock.  So messy, but fun to use!


Almost all of my ink pads are from Close to My Heart and they have been with me for YEARS!  The best part is that they are still good and juicy!  My basic stamping supplies are in this drawer, too.


This drawer has a hodge podge of things in it that I need or want to keep, but don't want out right now. Thank goodness for extra drawers!


This was the perfect place for my magazines and sketch books.  Billy finds it interesting that I insist on having them turned so you can't see the clutter.  LOL


I live in constant dread that I will run out of card bases.  That explains the drawer full.


This drawer has some of my tools for inking things and stuff I want to try (like making my own molds).


Here are my mini albums and coasters that I use for all sorts of games for the kids.


Next to that is my rolly cart.  I have a good start on Washi tape, but look at how much more room I have!


This basket holds my alphabets an my current kits that I have put together.  I usually only keep my kits together for a month or two.  Then I purge them back into my stash.


The top drawer has dimentional stickers and adhesive backed embellishments...so much fun to dig through!


This is regular stickers...and look at the sheets of washi on top!!  What should I make with those?


Die cut sheets and chipboard shapes finish out the last drawer.  Another fun drawer to dig through!


The bottom of the cart has a cubby that holds some trays I want to make, random paper an some finished layouts.


Look at this beautiful piece of furniture!!  I love the details on it!


The super cute owl boxes are a "countdown calendar" of sorts...each box holds a paper with a challenge written on it.  Pam and I do the challenges through out the year so we can do some long distance scrapping.  My 6x6 paper pads are stored in the photo box.  The CD box is holding scrap paper that I cut down to 6x6, 4x6 an 3x2.  I have tamed my paper scraps at last!


These are my blocks for stamping, small embellishments and boxes of flowers, trims and other bits.


I am anxious to play with the chip board, cork, vaneer sheets and adhesive backed linen.  It has been awhile since I have even looked at those.  Hmmmm...I feel a challenge coming on...


My punches are a mess aren't they?  I tend to dig a lot!


My holiday embellishments are stored here...along with some miscellaneous things like mini bags and some templates.


I LOVE my cuddlebug and book binding machines!  I am a sucker for die cutting!


My 7 foot desk used to be brown, but I sanded and painted it to match.  (And am pretty proud of myself for how it came out!).  Can you believe those paper trays?  We got them for a steal from a scrapbook store that closed down.  I love looking like a store.  LOL  And yes, those are a lot of cricut carts.  I have gotten a lot as gifts...and the others on sale.


This may be my best tool of all...I adore watching Glitter Girl while I scrap.  What on earth did we do before computers?


No zooming in and peeking at the challenges coming up for next month!


I have quite a bit of twine and other fun bits in these baskets from the Target Dollar spot.    My latest fine was a whale tape dispenser (for smash books).  It fits washi perfectly and is SO cute!


Ah...my Cricut Imagine.  My hubby bought it used for me for Christmas and I have been having lots of fun with it.  Such a great machine (even if I don't love the company).  I will use it until it dies and then move onto a Cameo, hopefully.


Favorite paper companies:  October Afternoon, Echo Park, and Cosmo Cricket.  I have plenty of DCWV and K and Co, too.


This drawer was much neater earlier.  Honest.  My kids get into it for office supplies and are not very neat about it.


Lots of glues for every type of occasion...my ATG lives on my desk, though.


I love that my printing supplies can be tucked away.  I hated having them out before...it looked too sloppy for me.


The last spot in my room is my closet.  Billy took the door off to make it more accessible, but I didn't like it, so he hung a curtain instead.  As long as it is covered up, I am good.


These are MOST of my stamps.  I have them categorized and stored in these shoe boxes.  I am a bit of a hoarder with these.


I'm not sure when the last time I used ribbon was.  Oh, well.  It is here when I want it.  LOL


Okay, Okay, I have several die cut machines.  It is my husbands go to gift for me.  The top basket has mini albums I have made and the clear box next to it stores finished cards to mail.

So this is my room.  I love it!  I think I spend more time staring at it then getting things done.

Thanks for checking it out!  Here is the rest of the hop list so you can see the other Crime Scenes.